
A Process Built Around Keeping Your Project Moving.
Delays and surprises cause more frustration on insulation jobs than the work itself. The process below exists to remove both, with a clear scope agreed upfront and updates as the job progresses.
Homeowners and general contractors have different priorities, so the process flexes. A homeowner usually wants to understand the options, while a contractor usually wants scheduling certainty and a clean inspection.
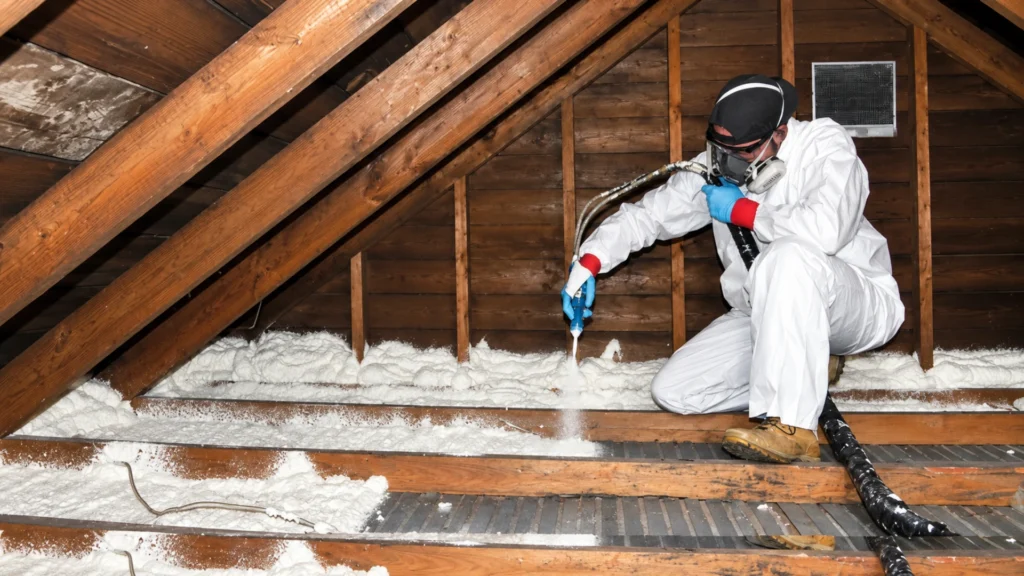
How the Insulation Process Works,
Step by Step.
Every project follows the same sequence, whether it is one attic or a full commercial floor. The detail inside each step changes with the scope.
Tell Us About the Project
Everything starts with a description of what you are dealing with, whether that is a hot upstairs bedroom, aging attic insulation, or a build that needs insulation before inspection. Photos help, and construction plans help more. Contractors and customers who already have drawings can submit them directly for review.
Free Estimate and Recommendation
Your project is reviewed to determine the insulation type, R-value, and scope that suit the space and the requirements. You receive a free estimate that explains what is included, along with the reasoning behind the recommendation. If more than one approach makes sense, the options are explained so you can weigh them.
Scheduling
Once the estimate is approved, the work is scheduled around your availability and, on construction projects, around the other trades. You are told which day the crew is arriving and roughly how long the work will take. Scheduling confirmation comes before the crew is dispatched, never after.
Site Preparation
Before any material comes in, the work area is protected. Access routes, floors, and surrounding spaces are covered so dust and debris stay contained. On removal jobs, containment and bagging are set up first so old material never travels through the property loose.
Installation
The insulation is installed to the agreed specification, including the correct R-value and coverage for the application. Whether the job calls for blown-in, batt, spray foam, or rigid board, coverage is checked as work progresses rather than only at the end. Gaps, compression, and missed cavities are what cause failed inspections, so those get attention during the install.
Cleanup and Walkthrough
Debris is bagged and removed, and work areas are cleared before the crew leaves. You get a walkthrough of what was installed and where, so you know what changed in your property. Anything outstanding is identified at this point rather than discovered later.
Inspection Support
For projects that require inspection, the installation is completed to meet the specification the inspector will be checking. Torres Insulation reports a 95% first-inspection pass rate across its projects. If something does need attention, it is addressed so the project can move forward.
Practical Things to Know Before Your Insulation Job.
A few logistics come up on almost every project, and knowing them early avoids rescheduling.
- Attic access is required — The crew needs a clear path to the attic hatch, so moving stored items beforehand speeds up the job.
- Occupied properties are fine — Most residential work is completed with people living in the home, though the work area itself stays closed off.
- Removal adds time — Jobs that involve removing old insulation before installing new material take longer than a straight installation.
- Plans speed up estimates — Sending drawings or photos upfront usually means a faster and more accurate estimate.
- Timelines depend on scope — Contact us for current scheduling and project availability rather than assuming a fixed lead time.
- Payment is flexible — Flexible payment options are available, and the terms are explained with your estimate.

Tell Us About Your Project and
Get a Free Estimate
If a room will not hold temperature, an attic needs clearing, or a build is waiting on insulation, the next step is a straightforward one. Send the project details and you will get a clear estimate with no pressure to book.